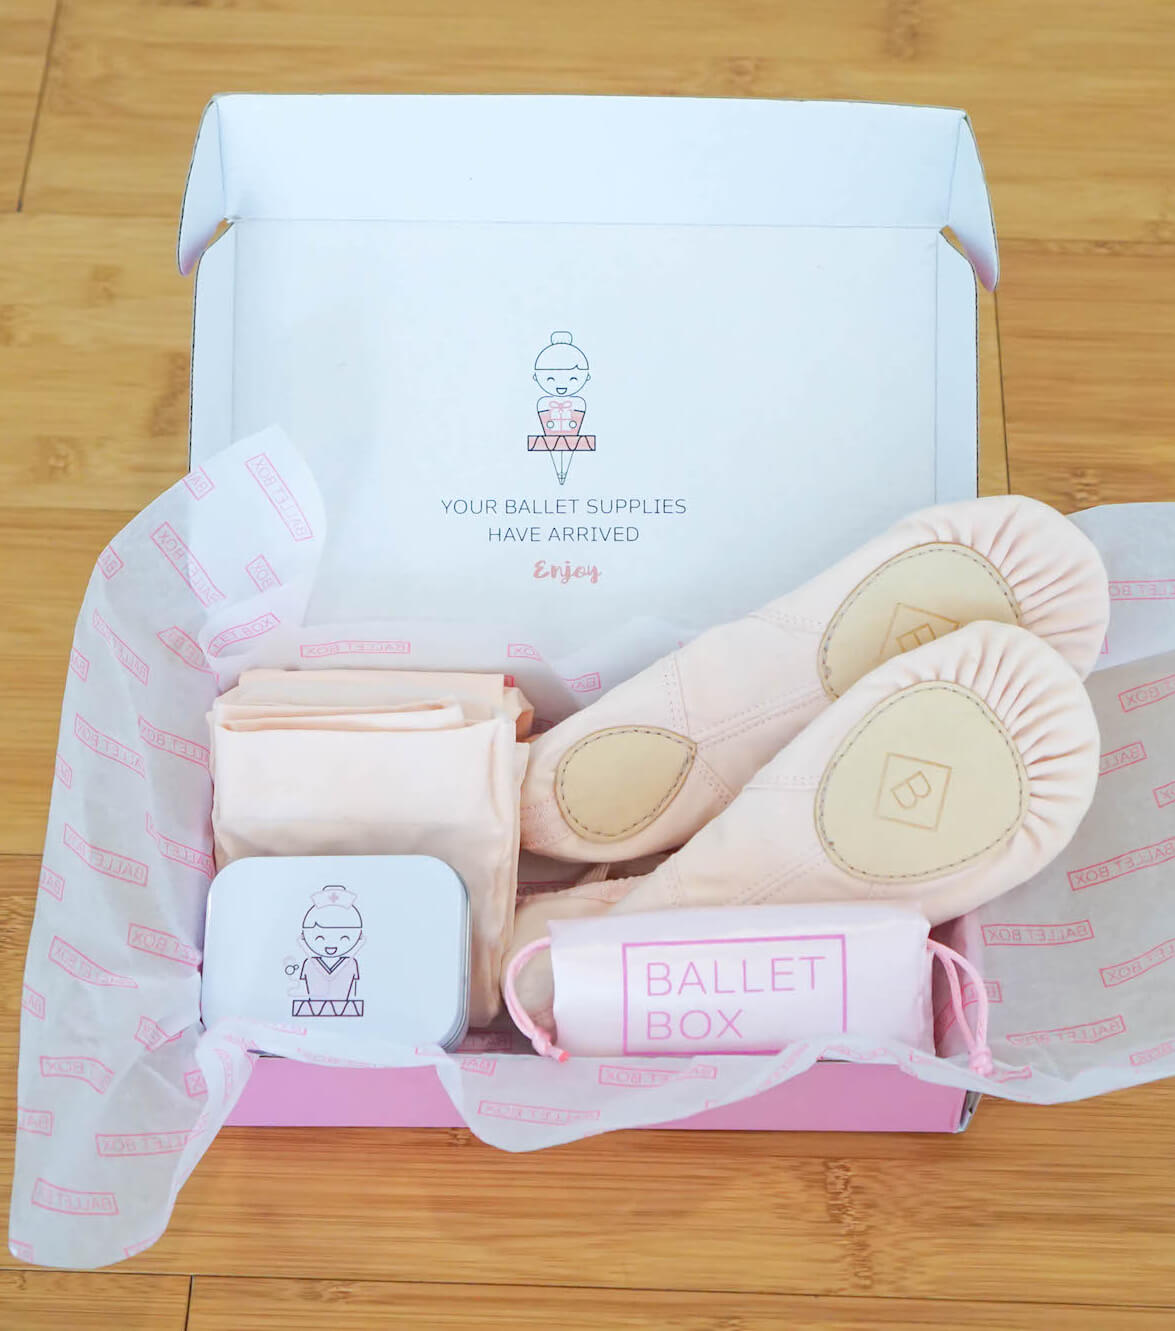
Hair pins, elastics, and hair nets delivered in a tiny box to you each month.
Never Run Out
After your first month, we’ll ship a replacement bun kit at the same price. So you never have to worry about losing your hair pins again!
Stay In Control
Cancel or pause anytime.
What’s in the Bun Kit:
- 30 Hair Pins
- 6 Hair Elastics
- 4 Hair Nets
*** Free Shipping ***
Rather start with just one bun kit? Click here.
Out of stock
Over 1,000 Bun Kits Sold!
Make the Perfect Ballet Bun
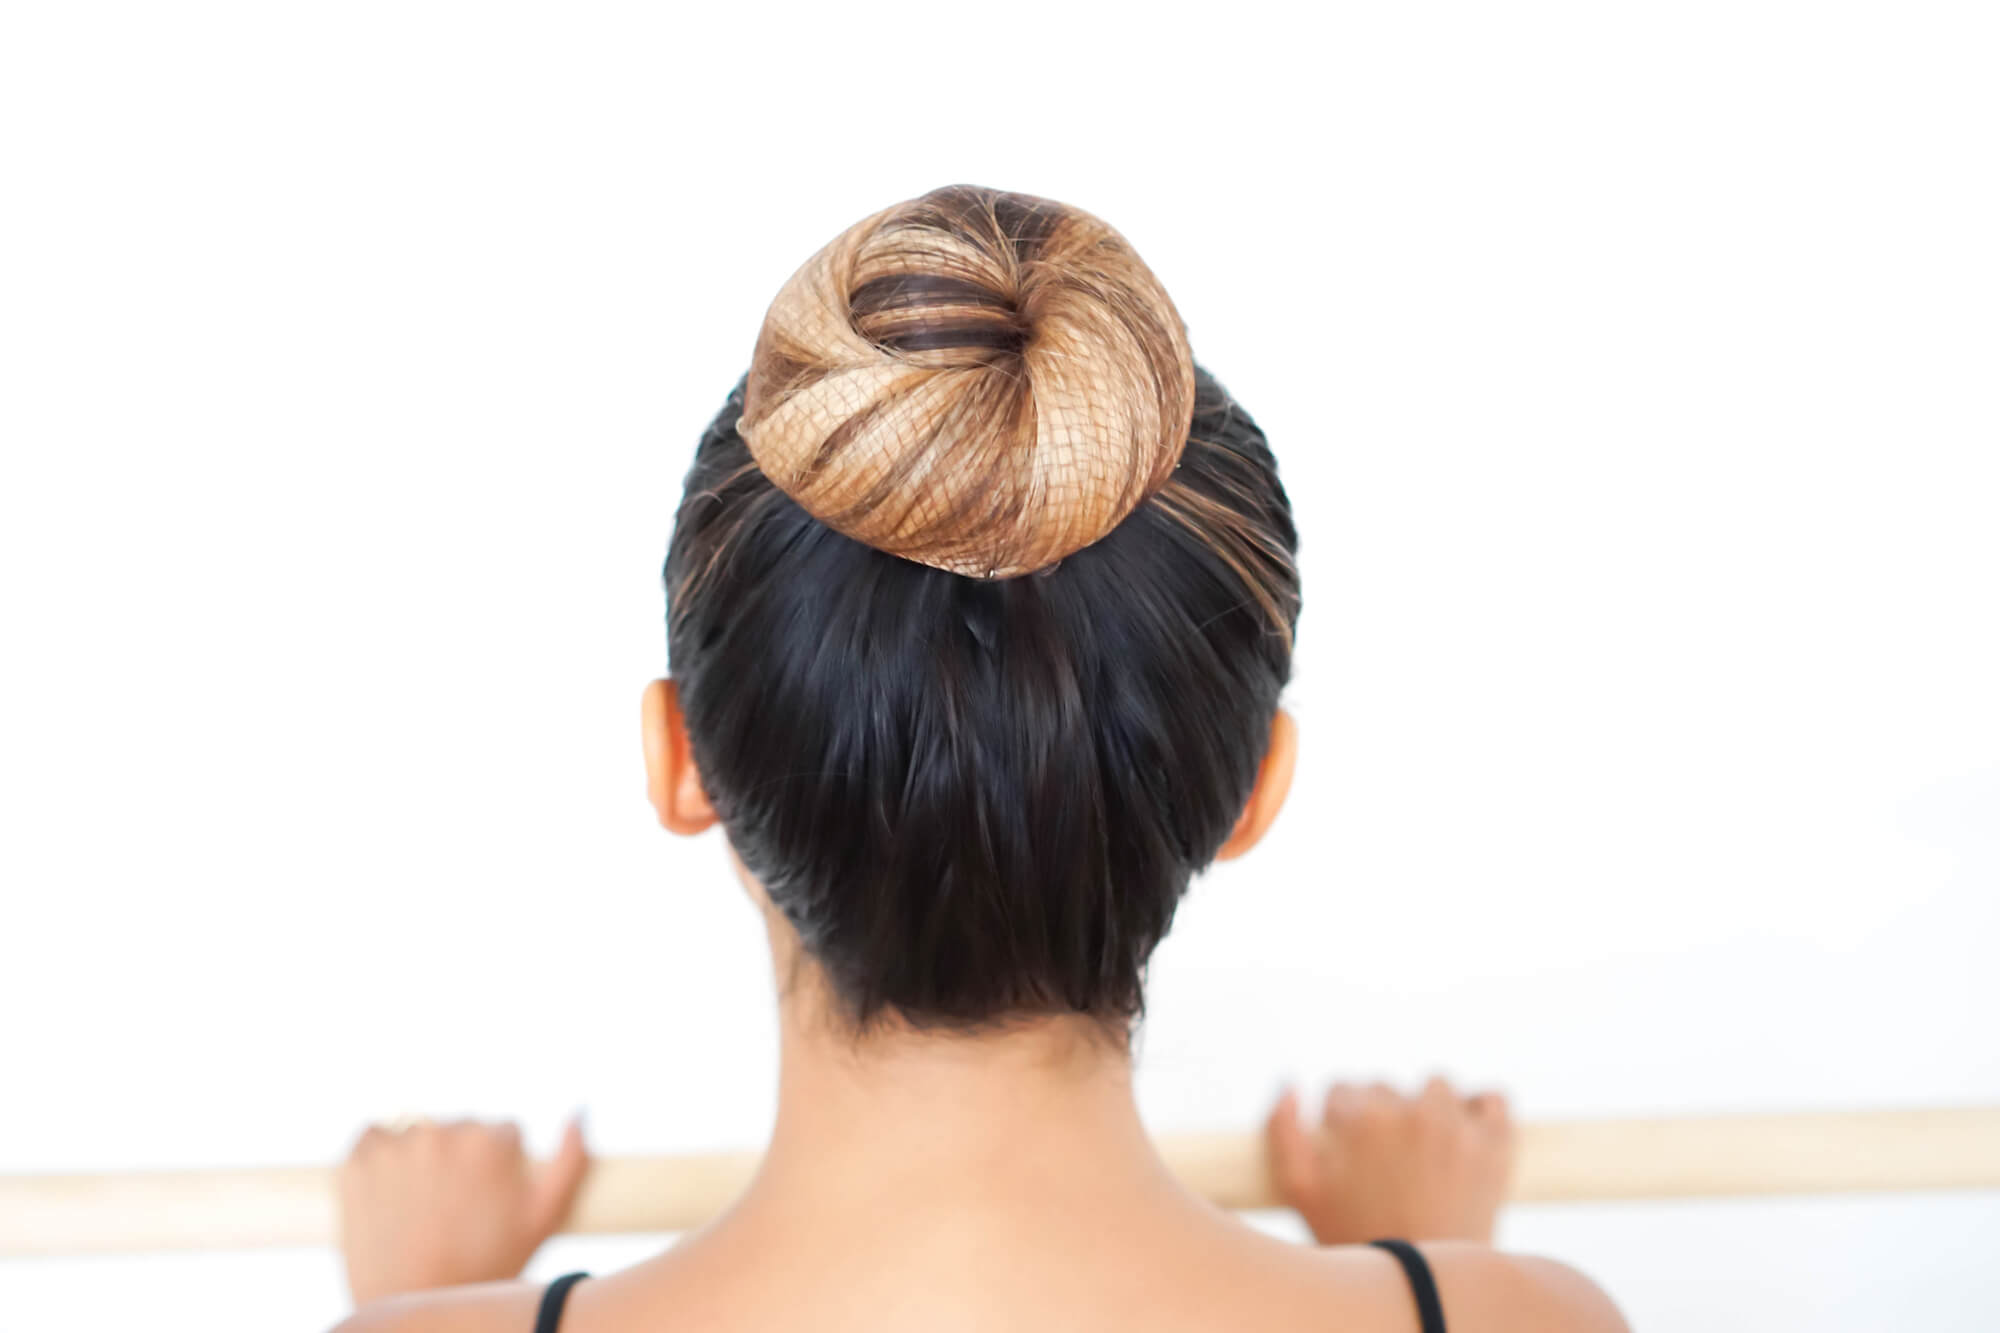
The BalletBox 9-1-Bun Kit provides all of the items you need each month to make the perfect ballet bun. No more frantic runs to the store to get the items you need. When you choose BalletBox, you choose the only ballet bun kit made specifically for serious dancers.
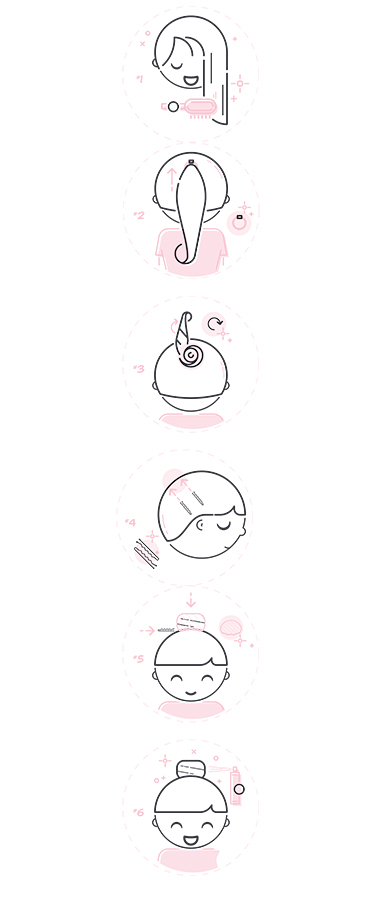
1. Brush your hair free of tangles. Get your hair as straight and even as possible. Make sure to brush it straight back as if you were putting it into a ponytail. Tip: A little water can help smooth your hair out and make it more manageable.
2. Pull your hair back into a ponytail and secure with an elastic. Tip: Make your ponytail around the crown of your head. The perfect height will allow you to see the top of the ponytail poking up if you look in the mirror.
3. Twist the ponytail into a tight rope and wrap the twisted ponytail in the same direction. The tighter the better, even though it may hurt a bit to get it prepared.
4. Securely fasten your wrapped ponytail with hair pins. Think of your bun as a clock face and place pins at 12 o’clock, 3 o’clock, 6 o’clock, and 9 o’clock. If the first half of your bun feels a little shaky, put more hair pins in to secure it.
5. For extra security, cover your bun with a hair net that matches your hair color. Typically a brown hair net will work with any hair color.
6. Lightly spray your ballet bun with hairspray if there are any wisps or frizzy hair. This also helps secure the bun, but is not always necessary.
Additional information
| Weight | .25 oz |
|---|---|
| Dimensions | 6 × 1 × 6 in |

